
How to Clean a Hat Brim (Top, Underside and Edges)
To clean a hat brim, brush off loose dirt, then work a small amount of mild cleaner into the stain with a soft brush and wipe it off with a damp cloth. Keep the brim as dry as you can, and never soak it, especially if it might have a cardboard insert.
The brim takes more abuse than any other part of a cap. It’s the part you grab, the part that hits the car door, and the part that catches sunscreen and greasy fingerprints. Here’s how to get it clean without warping it.
The quick answer
- Figure out if the brim is plastic or cardboard. Flex it gently.
- Dry brush the top and underside to remove dust.
- Put a little cleaner on a soft brush, not on the brim.
- Work the stain in small circles with light pressure.
- Wipe off the suds with a damp microfiber cloth.
- Let it air dry flat or on a form, away from heat and direct sun.
First: is your brim cardboard or plastic?
This decides how much water you can use. Most modern caps have a plastic insert. A lot of older and vintage caps, and some cheaper newer ones, use cardboard.
- Plastic brim: springs back when you gently bend it. It can handle a damp brush and a careful wipe.
- Cardboard brim: feels stiffer and may crease or crackle when you flex it. Water soaks into cardboard and makes it soft, lumpy and warped, and it doesn’t fully recover.
Not sure? Treat it like cardboard. Use a dry brush and as little moisture as possible. If you’re working on an older cap, our vintage hat guide has more tips.
What you’ll need
- A soft-bristle brush, plus an old toothbrush for edges and stitching
- A gentle cleaner: hat foam, or two or three drops of mild dish soap in a cup of cool water
- Two microfiber cloths, one damp and one dry
- A dry towel to blot with
How to clean a hat brim, step by step
Step 1: Brush it dry
Brush the top and underside of the brim with a dry brush. Pay attention to the edge, where dust packs into the stitching. Getting the loose dirt off first keeps you from grinding it in.
Step 2: Apply cleaner to the brush
Put a small amount of cleaner on your brush. A pea-sized dab of foam or a brush dipped and tapped off is plenty. Putting cleaner straight on the brim makes it easy to overdo it, and extra liquid is what seeps into the insert.
Step 3: Scrub the stain lightly
Work in small circles with light pressure, starting at the edge of the stain and moving inward. That keeps the stain from spreading. For greasy fingerprint marks along the front edge, give the cleaner about a minute to sit before you scrub again.
Step 4: Wipe it clean
Wipe away the suds with a damp cloth, then press a dry towel on the brim to pull out the moisture. Don’t run it under the faucet.
Step 5: Dry it flat
Let the brim air dry with nothing pressing on it. Setting the cap on a form or a rolled towel works well. Most brims dry in 1 to 3 hours. Keep it away from heat, since a hair dryer can warp plastic and buckle cardboard.
Cleaning under the brim
The under-brim is often a different fabric or color from the top, like a green or gray underside on a flat brim cap. It also picks up a lot of fingerprint grime from adjusting the hat.
Clean it the same way as the top, but use even less cleaner. Darker under-brim fabric can show soap marks if you leave residue behind, so wipe it twice with the damp cloth. If the under-brim is a printed graphic, dab it with a cloth instead of brushing so the print doesn’t fade or crack.
Flat brim vs curved brim
Flat brim caps
Flat brims show every stain, since the whole surface is on display. They’re also easy to warp. Keep the cap flat while it dries and don’t set anything on the brim. If you keep the sticker on, clean around it and don’t scrub over it. Fitteds and snapbacks often have flat brims, so our guides on cleaning a fitted hat and cleaning a snapback go into more detail.
Curved brim caps
Curved brims hide a little more dirt in the bend but get more handling. Clean them the same way, then let them dry on the hat form so the curve stays put. Don’t try to reshape a curved brim while it’s damp. It can set into a new, wrong shape.
Which method for which brim
| Brim | How to clean it | Avoid |
|---|---|---|
| Plastic, cotton or poly fabric | Light cleaner on a brush, wipe with damp cloth | Soaking or hot water |
| Cardboard (vintage or older) | Dry brush, then barely-damp cloth on spots | Any real water |
| Wool brim | Dab with cool water and mild cleaner | Scrubbing. See our wool hat guide |
| Suede or leather brim | A suede or leather-specific cleaner | Water and regular soap |
Brim stains: still there? Try this
Greasy fingerprint stains
These come from skin oil and sunscreen. Let the cleaner sit on the stain for a minute or two to break down the oil, then scrub lightly and wipe. Repeat once if needed.
Makeup on the under-brim
Foundation and sunscreen rub off on the inside edge. Blot with cleaner on a cloth instead of scrubbing so you don’t spread it around.
Water spots or a ring after cleaning
That usually means one area got wetter than the rest. Lightly dampen the whole brim surface evenly with a cloth, blot, and let it dry. The ring tends to fade once the moisture is even.
Warped brim
A plastic brim that bent while drying can sometimes be coaxed back by gently reshaping it when it’s dry and holding it in place with a rubber band around a can for a day. A cardboard brim that got soaked usually can’t be fully fixed.
Mistakes to avoid
- Soaking the brim. Even plastic brims are wrapped in fabric and sometimes a layer of padding that holds water.
- Bleach on white brims. It can turn white fabric yellow instead of brightening it.
- Scrubbing hard. It fuzzes the fabric and can wear through the edge stitching.
- Heat drying. Dryers, hair dryers and dashboards warp brims fast.
The easy way
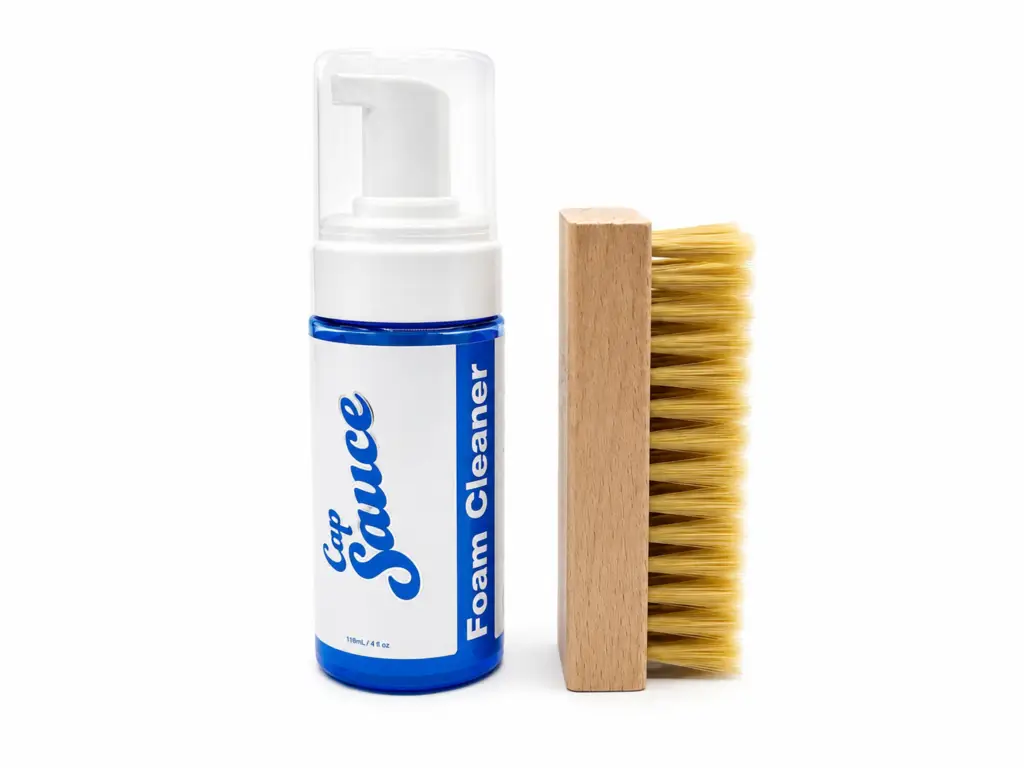
Cap Sauce Foam Cleaner doesn’t need water, so you can clean a hat brim without worrying about soaking the insert. A little foam on the soft brush, a few small circles, and a wipe usually handles fingerprint grime and everyday brim stains.
FAQ
How do you clean a hat brim without ruining it?
Use a soft brush with a small amount of mild cleaner, scrub lightly, and wipe it off with a damp cloth. Keep water to a minimum and let it air dry without heat.
How do I know if my hat brim is cardboard?
Gently flex it. Plastic springs back easily, while cardboard feels stiffer and may crease or crackle. Older and vintage caps are more likely to have cardboard.
Can you get a stain out of the underside of a hat brim?
Yes. Use less cleaner than on the top, blot more than you scrub, and wipe it twice so no soap is left behind on the darker fabric.
Can you wash a hat with a cardboard brim?
Not by soaking it. Dry brush it and spot clean with a barely damp cloth. Water softens cardboard and warps the brim for good.